Synchronize Members from QuickBooks
Use QuickBooks to track your members and handle payments? Learn how to import and synchronize your members from QuickBooks.
How it Works
SpeedIn can synchronize your members from QuickBooks. Once you’ve set it up, you’ll be able to import all of your members and their families. Each member in QuickBooks will be added to SpeedIn. You can also use a nightly sync if you plan to make any edits to your members in QuickBooks.
Setting Up the Integration
To do this, you need a QuickBooks Online Account and your credentials.
Step 1 - Open Settings
Go to Settings > Club
Step 2 - Connect to QuickBooks
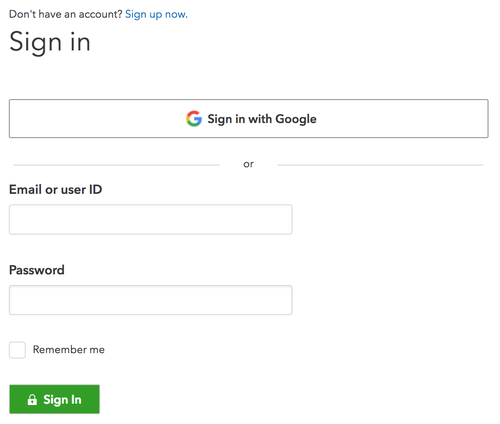
Click the “Connect to QuickBooks” button.

Then sign in to your Account.
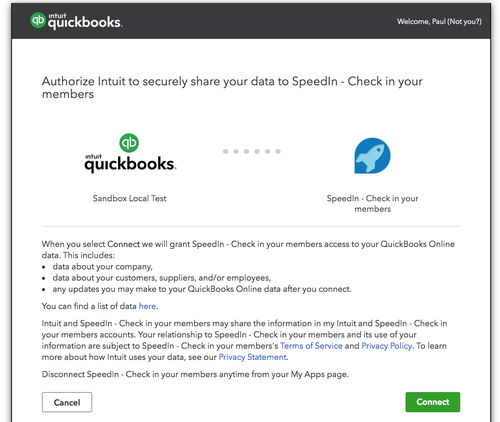
Step 3 - Authorize SpeedIn
Authorize SpeedIn to use the data in your QuickBooks account. Click Connect.
Step 4 - Confirmation
You’ll be taken back to SpeedIn and should see a confirmation screen that you are connected to QuickBooks.

Importing Members from QuickBooks
Now that you have a working integration, let’s use it to synchronize your members from QuickBooks.
Step 1 - Clean you Data
To get the best results, you should make sure that your data is consistent across members. Some key considerations:
- If you store your membership type in QuickBooks, make sure that you always use the same field. SpeedIn supports using the Other or Company Name field for membership type.
- Make sure all of your members are in QuickBooks.
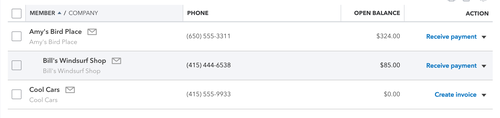
- If your members are grouped or in families, you should make sure that you have a head of household and that all remaining family members are listed and indented underneath of that member. (open the child, click Is Submember and choose the parent). You should see something like this for head of household and children.
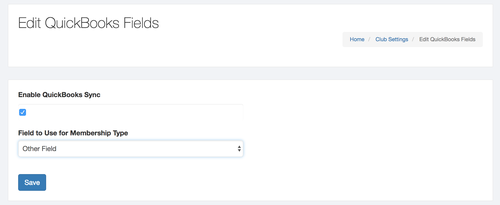
Step 2. Configure SpeedIn to Match
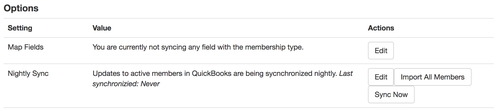
If you plan to sync a membership field, go back to the Settings > Club page, and under QuickBooks options click Edit.
Step 3. Import!
Click Import all Members
You'll see a confirmation message telling you how many members were imported.