How to Configure the Member Portal
A step-by-step guide to how to configure the Member Portal
Getting Started
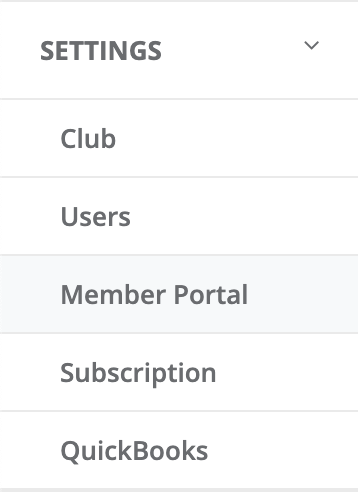
To enable the portal, go to Settings > Club and make sure "Portal Enabled" is checked. When the Portal is enabled, you will see a new option in the Settings menu:
Description Text
On the Member Portal Settings screen, you will see a number of options (see below) for controlling the text or content on the portal. You should experiment with the descriptions by entering some values and then going to the URL for your portal to see where the text appears. This text is how you can communicate with your Customers.
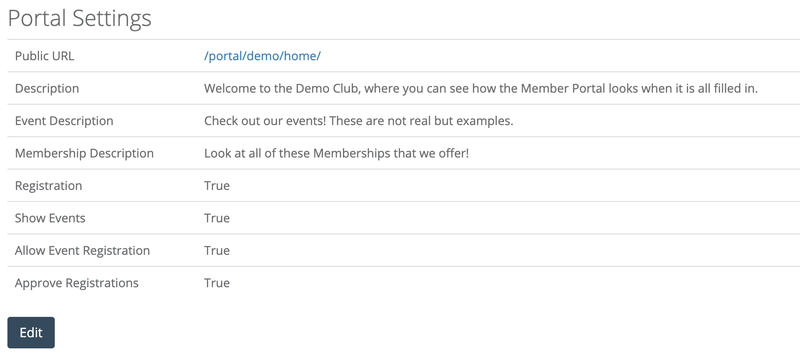
Member Portal Settings
Registration
The Registration setting controls whether prospective members can register for your club through the portal. If you set this to False, prospective members will be able to see your Club but they will not be able to choose a Membership Type or register.
Show Events
This setting controls whether you show events on the Member Portal. You might want to show Events so that your prospective members can tell if the events you run will be of interest to them.
Allow Event Registration - FUTURE
Event Registration through the Portal is currently not supported. In the future, this setting will control whether your prospective members can register for any event.
Approve Registrations - FUTURE
Currently, all registrations will create Orders. You must choose to Create Memberships for each of these Orders. In the future, if this feature is set to False, the system will automatically fulfill any Orders.